The Fantini Cosmi programmable thermostats with WiFi connection allow for easy and intuitive control over heating and air-conditioning systems, also remotely thanks to the Intelliclima+ App.
Let’s see together how to install and configure the WiFi network of the Fantini Cosmi WIFI programmable thermostat CH180WIFI, CH180WIFI LITE, CH180RFWIFI, CH193WIFI and CH193BWIFI.
Installation introduction
Provide for the following to install and configure CH180WIFI :
1) a 230V mains connection supply power to the device
2) a WiFi network to connect the programmable thermostat, with these features
- 1080 open port (TCP) setted on the 2.4 GHz router “802.11 mode”
- Set the b/g/MIXED/n protocols (do not use the ‘n’ protocol with the CH193WIFI and CH193BWIFI models)
- Set the IP in dynamic type (not fixed)
- IP address: 213.229.84.213 (only for CH180RFWIFI model use: 92.48.107.8)
All the steps
CH180WIFI can be installed and configured in few simple steps.
1. As a first step, perform the connection to the mains, paying attention that all the wiring is carried out with the power off.
- Connect the programmable thermostat to the boiler
- Connect to the mains
- Secure the programmable thermostat to the wall with the plugs supplied
- Power the equipment.
2. Now let’s turn on the WiFi.
- To do this, we need to go to the ADVANCED PROGRAMMING by pressing and holding the PROG. key for 3 seconds.
- Wait 2 seconds and press the FORWARD ARROW until you get to the WIFI page.
- Then select WIFI: A.P. (Access Point) and press ENTER.
3. Now go to the Intelliclima+ App downloaded previously. Create an account by entering the USERNAME and PASSWORD, and launch the installation wizard.
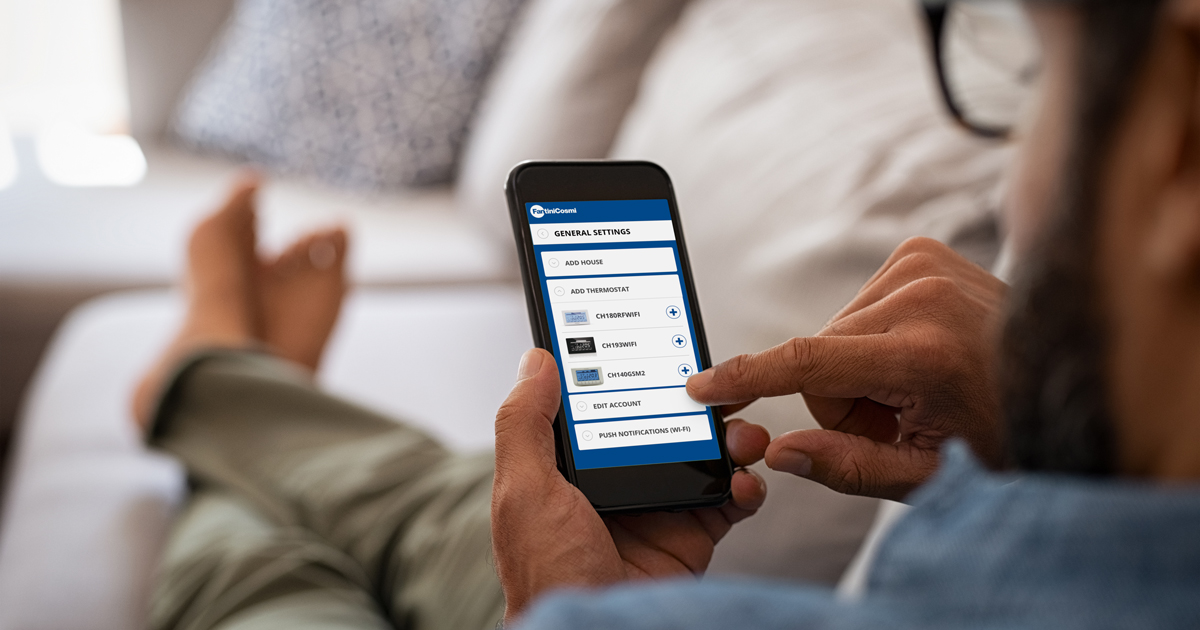
- To create a new home, press “+”; enter the desired name and press CONFERMA (CONFIRM).
- Then connect the programmable thermostat by pressing “+” and select CH180WIFI.
– Choose your WiFi network (which must have the features listed above).
We recommend disabling the data network on your smartphone when configuring the App.
– Enter the password
– Link the programmable thermostat to the app and then the WiFi network
– Fine Access Point → Pay attention to the antenna icon on the programmable thermostat, which shows you the WiFi coverage
– Give a name to the programmable thermostat (Living room / floor 1, etc.)
At the end of the procedure, the new programmable thermostat is displayed inside the home.
What we need to remember
So we have seen how to easily install and configure the CH180WIFI programmable thermostat. If we were to recall two key steps:
- Make sure the internet connection has the following features (slide)
- Always work under safe conditions during the connection to the mains
The advantages of choosing this product are endless:
- Intelliclima+ can manage several houses and several programmable thermostats in one house: you can share control over the programmable thermostat with who you want!
- The app is easy to install and use… and if you need assistance, a technician can connect directly to your system and intervene quickly.
Thank you for following this tutorial. For further information, get in touch at marketing@fantinicosmi.it