It is a single room ventilation system with air purification, which is able to decompose the harmful substances found in the air that is let into the home.
It recovers the heat contained in the exhaust air and transfers it back to the inlet air thanks to the alternated flow and high efficiency ceramic recovery unit.
It can only be installed on perimeter walls, which must have a thickness between a minimum of 24 cm up to a maximum of 53 cm. It is extremely easy and quick to install also thanks to the external expansion grate, which may be fitted either inside or outside the home.
Everything that must only be carried out by professionally skilled technicians, in observance of the applicable regulations, especially with regards to the product’s electrical connection.
It is possible to install the “master” unit only, or – in settings such as large buildings – up to 64 decentralised ventilation units may be added, which communicate with the master unit via radio in a two-directional manner.
Rhinocomfort installation: what are the main steps?
Let us imagine the simplest scenario, that of installing the “master” unit only. Here is a guide in 5 simple steps for the installer:
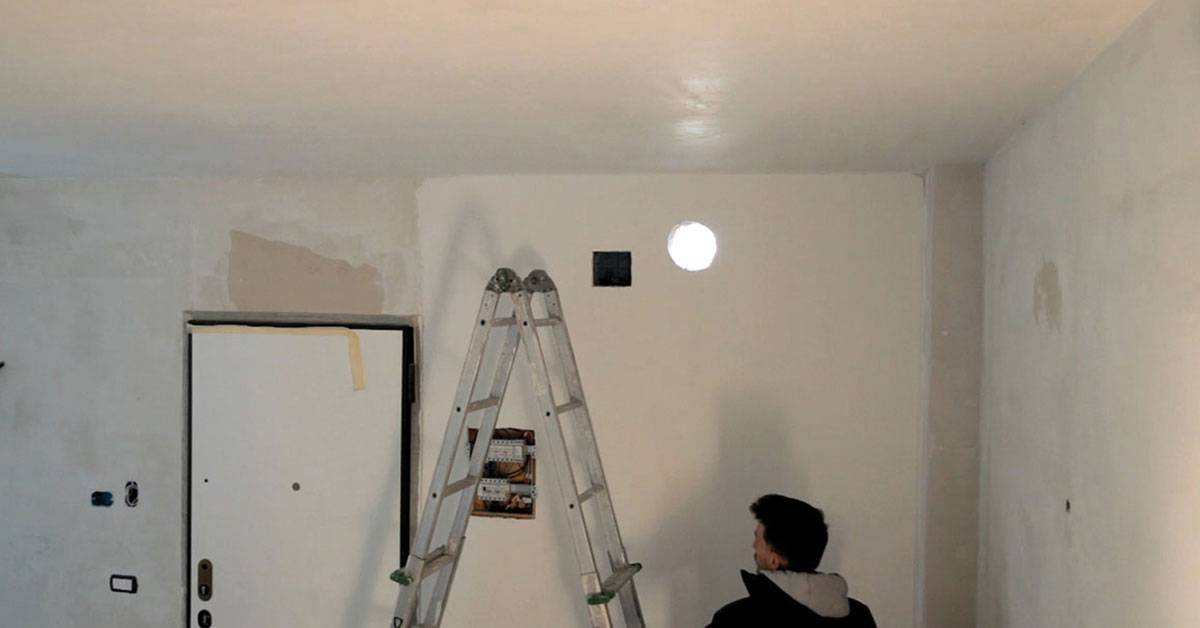
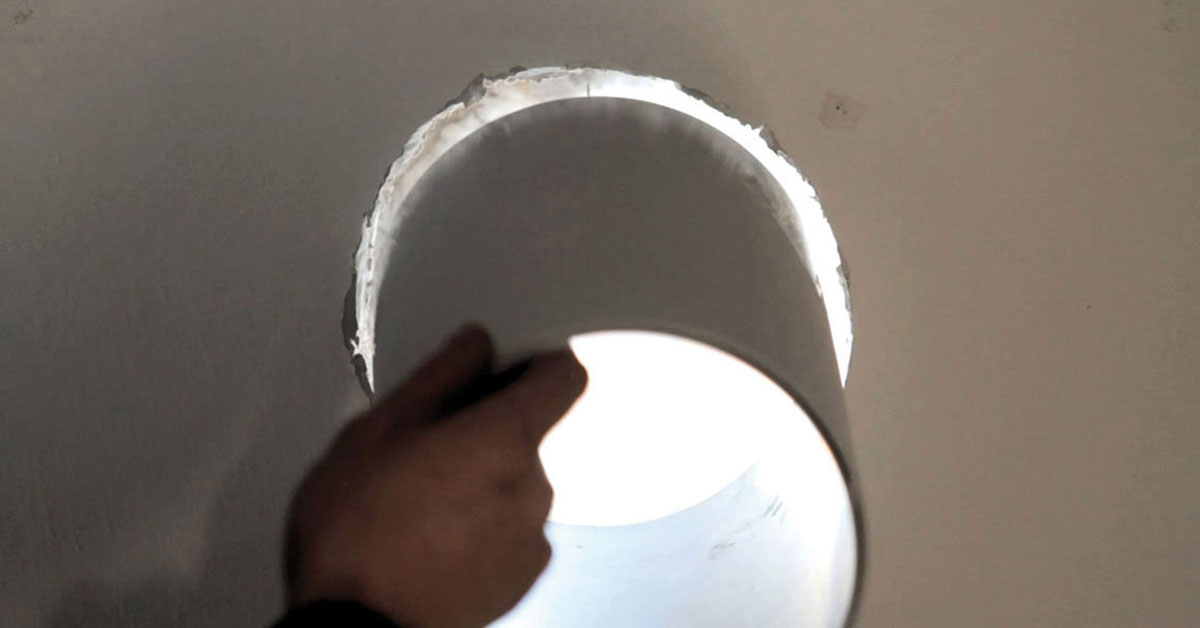
- MAKE THE HOLE. The first step consists of making a hole on the perimeter wall, with a minimum diameter of Ø162 mm with a 1-3° inclination towards the outside. The hole is made with a core drill and must be at a minimum height of 2.3m from the floor and 100 mm from any side walls.
- INSERT THE TELESCOPIC TUBE. The product is then installed. The heat exchanger is pulled out of the telescopic tube by holding it by its handle. Cement mortar or polyurethane foam is applied on the hole in the wall. The telescopic tube is inserted, taking care to place the part with the larger diameter flush with the outer wall. The inner tube with the smaller diameter is then slid until it is flush with the wall of the room. In this manner, the telescopic tube is extended across the entire length of the hole.
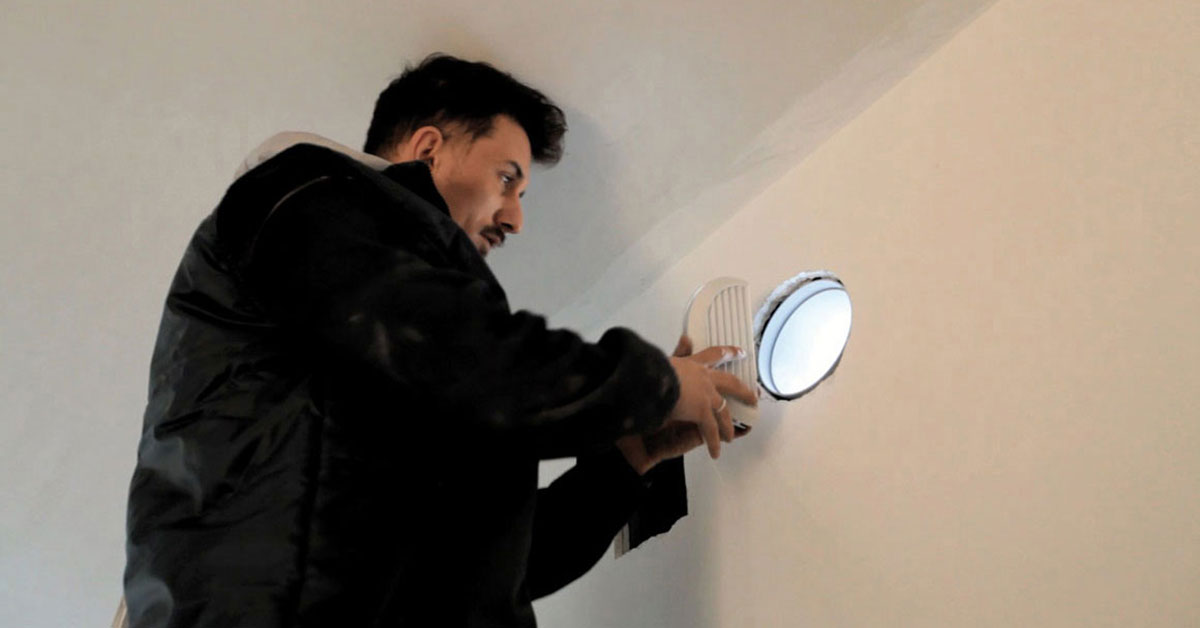
- PLACE THE GRATE AND THE HEAT EXCHANGER. Once the cement (or foam) has set, the “inner-outer” grate is inserted by compressing the springs on the outer tube (the EXTERNAL FIXED fins must be facing DOWN) and the grate is fixed for good. At this stage, the heat exchanger is inserted about halfway inside the telescopic tube.
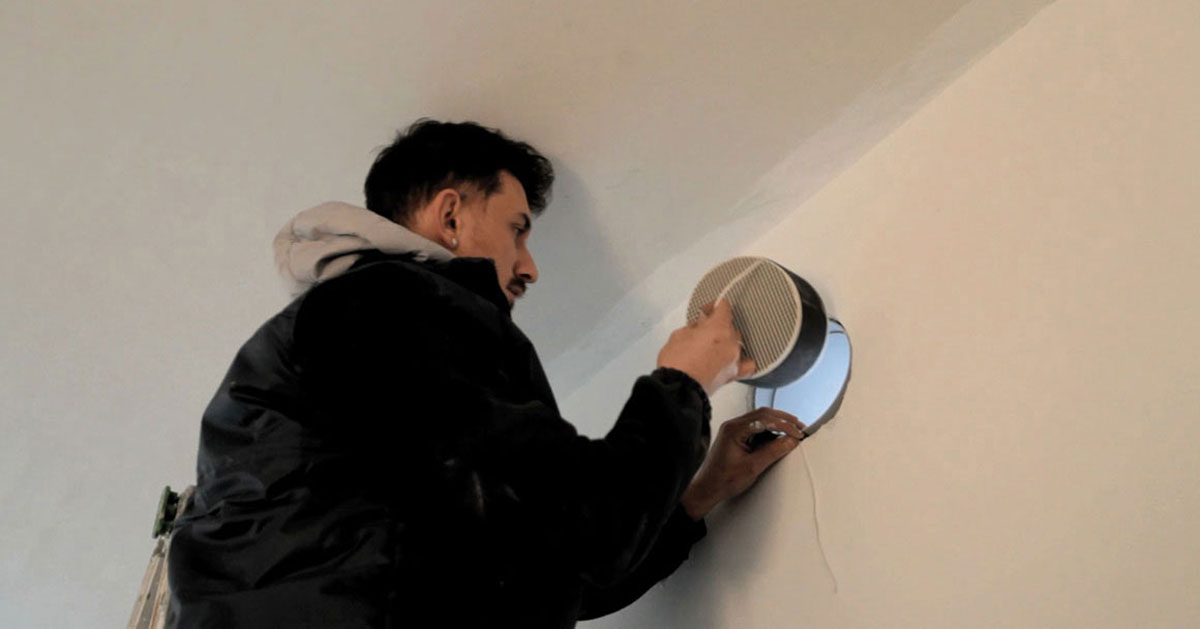
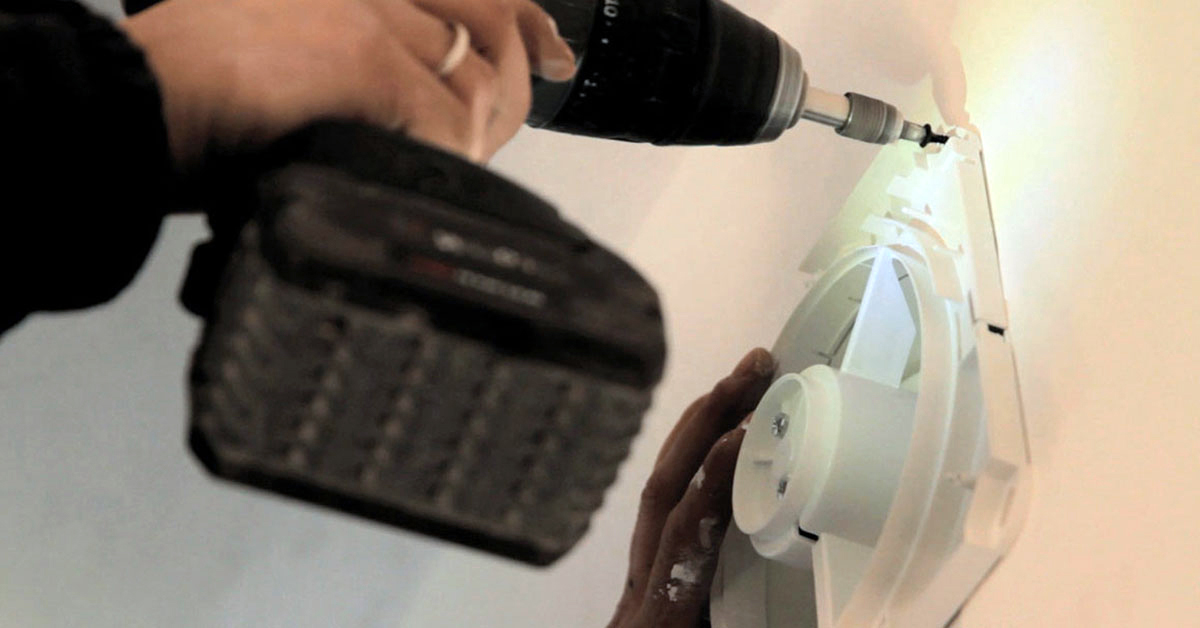
- CONNECT THE ELECTRIC CABLE. The cover is released from the motor support by pressing on the side holes with a small screwdriver. The hole provided on the top left for running the electric cable is then opened: the power supply cable is threaded through it. Once electrical connection has been completed, FIX THE UNIT TO THE WALL WITH SCREWS AND PLUGS at the fixing holes THAT HAVE BEEN MADE BEFOREHAND.
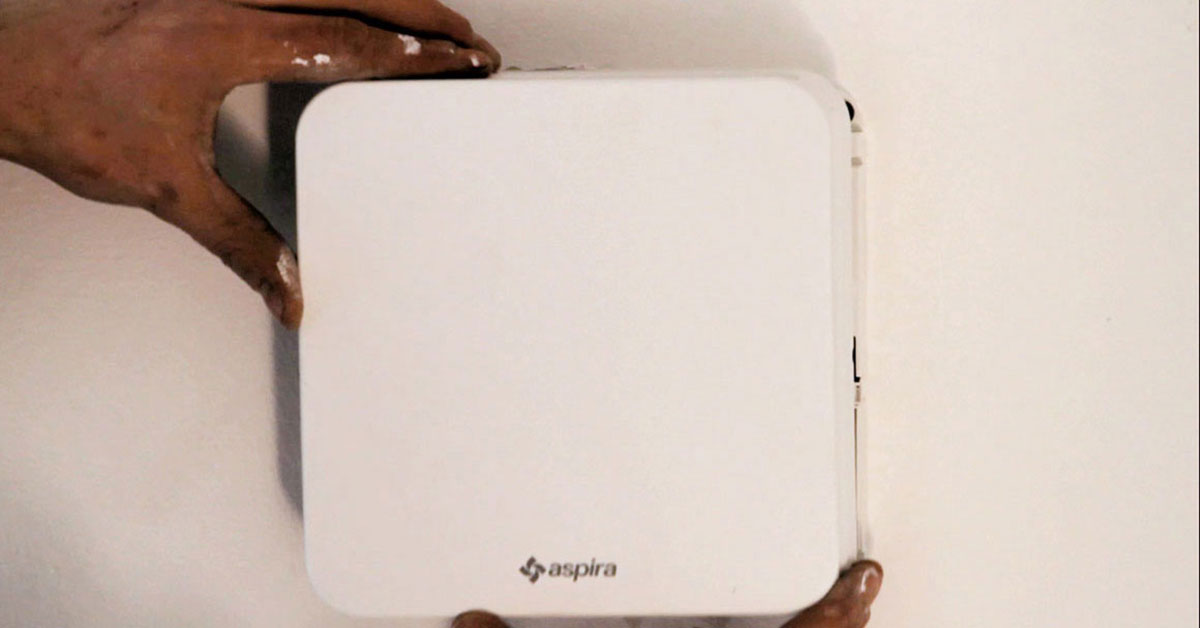
- INSERT THE COVER AND SWITCH IT ON. The cover is pressed on with a simple click. The product can now be switched on with the remote control supplied. Rhinocomfort works right away.
And now that Rhinocomfort has been installed, it should work uninterruptedly: its beneficial effect, consisting in changing the air and preventing the formation of humidity and mould, works at its best if it is in continuous operation. At night, when in automatic mode, it goes into sleep mode.
Which room should Rhinocomfort be installed in?
Should you decide to install one unit only, Rhinocomfort may be installed in the room that has the biggest humidity issues, or in the most used room of the home, where the air should be the healthiest. It is also possible to install several decentralised units in various rooms of the home, which may then be connected to the “master” unit in wireless mode.
With Rhinocomfort you will have clean and constantly fresh air in every season!